INGREDIENTS
- 1 cup (227 g) pumpkin puree
- 1 cup (237 ml/8 oz) full fat sweetened condensed milk
- 1.5 cups (195 g) self-rising flour
INSTRUCTIONS
- Preheat oven to 350°F (177°C). Line an 8 x 4 inch loaf pan with parchment paper.
- Add pumpkin and condensed milk to a large mixing bowl. Whisk until the mixture is smooth and uniform in color.
- Sift the flour in using a fine mesh strainer. See notes for why it needs to be sifted in. Also see note for how to properly measure the flour. Use your whisk to mix in the flour until it is fully incorporated and no flour lumps remain. The batter will get quite thick at the end but you should still be able to store it. Make sure you don't whisk the batter too vigorously. If you are using a mixer instead of a whisk, use the lowest speed setting to mix in the flour.
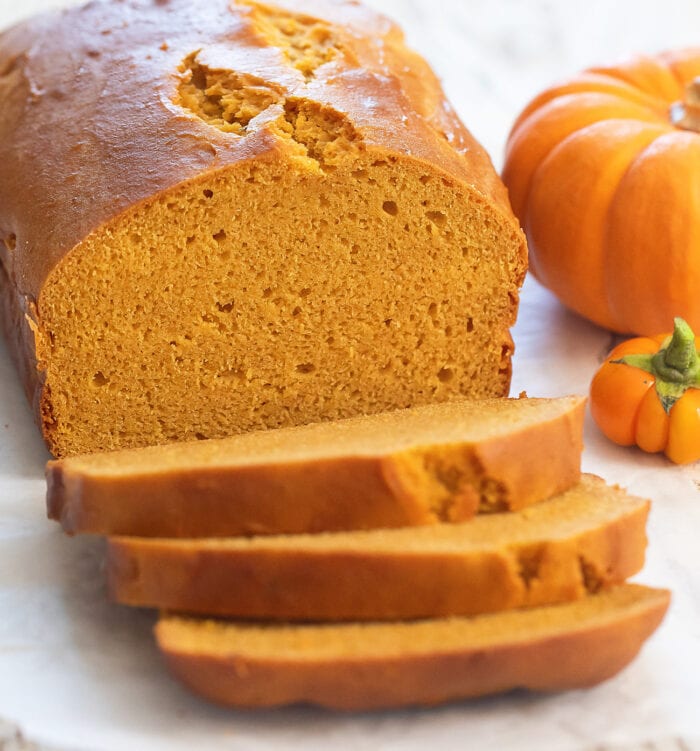
- Pour the batter into your prepared loaf pan. Use a spatula to scrape down the sides of your mixing bowl so that all the batter gets into the pan. Smooth the surface of the batter with your spatula. Bake the bread for about 35-45 minutes or until the bread is done (mine was done at 40 minutes). When the bread is done, a toothpick inserted should come out clean and if you apply light pressure to the surface of the bread, it should bounce back and not sink in. Let bread cool completely before slicing and serving.
NOTES
- This is a pure pumpkin bread. If you like fall spices, you can add cinnamon, nutmeg, cloves and ginger. If you like mix-ins, you can add chocolate chips or nuts.
- Make sure you sift the flour in. Even if your flour is labeled pre-sifted, it still needs to be sifted in. Sifting the flour will make it very light and powdery which helps keep the bread very soft and tender. It also prevents you from overmixing the batter and having little clumps of flour left in your batter. Because of condensed milk and lack of a lot of fat, it is very hard to stir out any flour lumps which is why it needs to be sifted first.
- My current favorite self-rising flour brand is Amazon Fresh. I have found that the texture seems lighter and finer than other self-rising flour brands.
- How to measure flour: It is very important to properly measure the flour because if you add too much your batter will be too dry or your bread will be too dense or dry. To properly measure flour, spoon the flour into the measuring cup and then level off with a knife. Do not directly dip the measuring cup into the flour because this results in too much flour. Use this method of measuring whether you are measuring self-rising flour or measuring all purpose flour to make your own self-rising flour.
- Homemade self-rising flour: To make your own self-rising flour, combine 1 and 1/2 cups all purpose flour, 2 and 1/4 teaspoons baking powder and 3/8 tsp salt. Whisk until thoroughly and evenly combined. Make sure to also sift this in to the batter.
NUTRITION
serving: 1slice, calories: 173kcal, carbohydrates: 33g, protein: 4g, fat: 3g, saturated fat: 1g, sodium: 239mg, fiber: 1g, sugar: 18g, net carbs: 32
The nutrition information provided are only estimates based on an online nutritional calculator. I am not a certified nutritionist. Please consult a professional nutritionist or doctor for accurate information and any dietary restrictions and concerns you may have.

